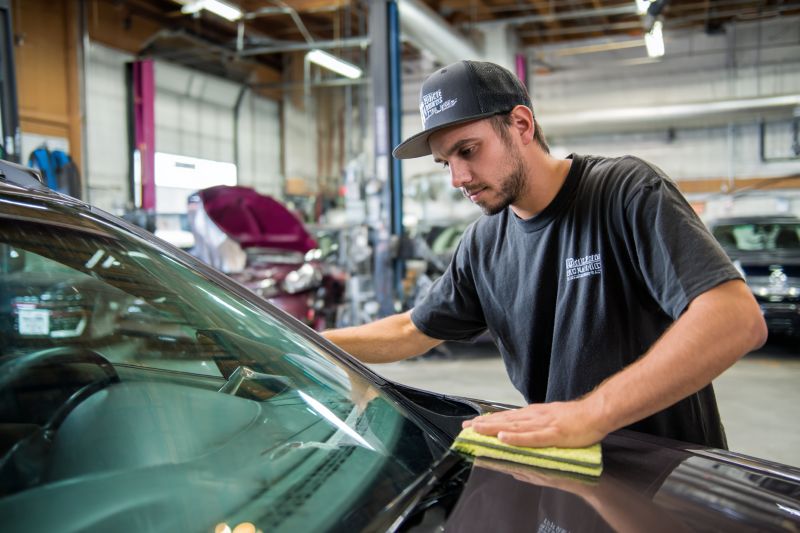
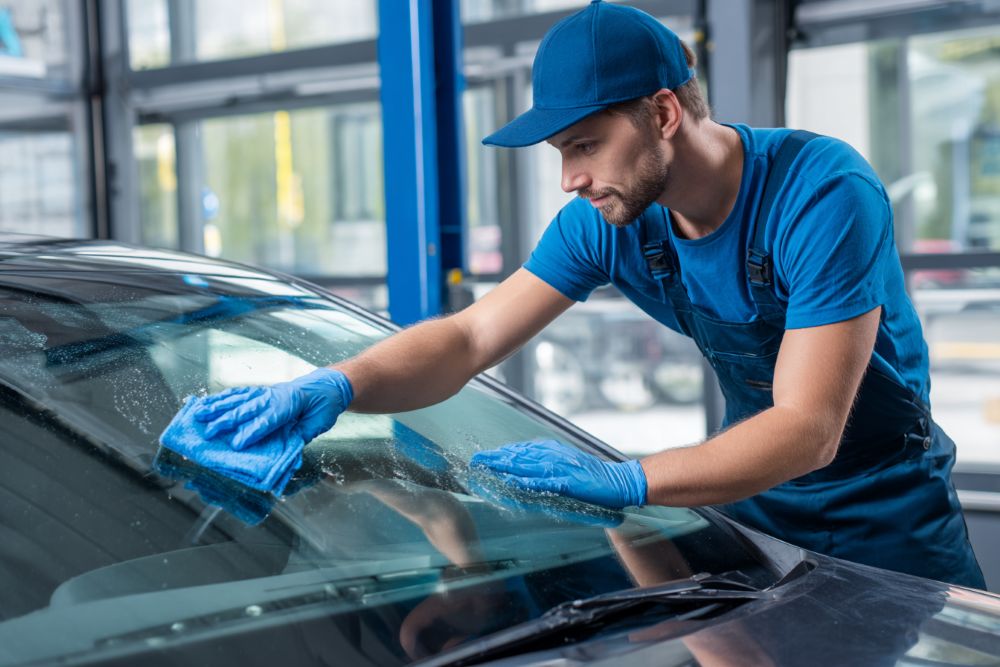
If your freshly replaced windshield still looks like foggy fog-on-fog, you’re not alone—and the fix is easier than you think. The National Highway Traffic Safety Administration and Expert Auto Glass Repair reports that poor windshield visibility contributes to nearly 16% of severe collisions each year, underscoring why a spotless glass surface is critical for safety.
Windshield replacement often leaves behind tiny bits of adhesive, water spots, and polishing residue that can hinder clarity. Neglecting that haze not only obscures your view but can also accelerate grime buildup and pitting from road debris. A proper cleaning routine right after replacement ensures optimal vision and prolongs the life of your new glass.
In this in-depth guide, you’ll discover everything from the essential tools to professional-grade cleaners, step-by-step techniques for interior and exterior surfaces, advanced polishing methods, and long-term maintenance strategies. Ready to restore showroom shine to your auto glass?
Gathering Your Cleaning Arsenal
Every expert begins with the right kit. Here’s what you’ll need for a professional-quality job:
- Isopropyl Alcohol (70–90%): Breaks down adhesive residue.
- Automotive Glass Cleaner: Ammonia-free for tinted windows.
- Clay Bar Kit: Removes microscopic contaminants.
- Micromesh Polishing Pads: For fine scuff removal.
- Clay Lubricant or Soapy Water: To glide the clay bar safely.
- High-Quality Microfiber Towels: Lint-free and absorbent. See surgical towels for window cleaning too.
- Plastic Razor Blades: For stubborn bits on exterior glass.
With these window cleaning tools ready, you’re set to tackle each phase of cleaning with precision and care.
Initial Wipe and Residue Removal
Begin by removing loose debris and surface film:
- Dry Dusting: Use a clean microfiber towel to wipe away loose dirt.
- Alcohol Wipe: Lightly dampen a towel with isopropyl alcohol and wipe all glass surfaces—this lifts oils and adhesive remnants.
- Razor Blade Scrape: On the exterior, hold the blade at a 45° angle to gently scrape off glue spots or tar.
This preparatory step ensures subsequent cleaners can work directly on glass, not on surface grime.
Deep Cleaning With Clay Bar
Clay barring is the secret to that factory-fresh smoothness:
Apply clay bar with lubricant:
- Knead the clay until soft and pliable.
- Spray clay lubricant generously on a small glass section.
- Glide the clay back and forth—feel it grab contaminants.
Wipe residue and repeat across all glass. The result is silky-smooth glass free of microscopic grit.
Advanced Polishing Techniques
For polishing haze and fine scratches:
- Choose the Right Pad: Use a fine-grade micromesh pad suited for glass.
- Apply Glass Polish: Dot polish onto the pad, then work in small circular motions.
- Buff Thoroughly: Switch to a clean microfiber towel to buff until clear and streak-free.
Polishing tackles swirl marks left by installers and road-borne abrasion, revealing crystal clarity.
Interior Glass Care
Interior glass often hides unseen fog and film:
- Spray Cleaner Sparingly: Direct spray onto towel, not glass, to avoid overspray on dash.
- Vertical Motion Wipe: Wipe top-to-bottom on one side, then left-to-right on the other—cross-wipe pattern catches streaks.
- Edge Attention: Use a corner of a microfiber to clean window seals and defrost vents.
Interior clarity ensures distractions are minimized while driving.
Tackling Hard Water Spots
Hard water deposits can etch glass if ignored:
- Vinegar Solution: Mix one part white vinegar to one part water in a spray bottle.
- Soak and Scrub: Spray, let soak for five minutes, then scrub gently with a soft nylon pad.
- Rinse and Dry: Wipe away vinegar and mineral residue, then dry immediately.
This eco-friendly hack restores glass without harsh chemicals.
Expert Tip From the Pros
A specialists at Expert Auto Glass Repair go on to mention that “our customers see up to a 45% improvement in nighttime glare reduction after our post-installation glass cleaning protocol,” highlighting the real safety benefit of thorough cleaning. With the appropriate window cleaning estimate, you can prepare for this.
Seal and Protect
To guard against future buildup:
- Apply a dedicated auto glass rain repellent—buff on with a microfiber and cure per instructions.
- Treat interior glass with an anti-fog solution to maintain moisture-free visibility.
These protective layers save time on future cleanings and enhance driving safety.
Maintaining Your Sparkle
Regular upkeep keeps your glass pristine:
- Weekly Quick Wipe: Glass cleaner and microfiber after wash days.
- Monthly Clay Bar: Prevents long-term contamination buildup.
- Quarterly Polish: Remove emerging micro-scratches before they worsen.
A proactive routine means your windshield stays as clear as new.
Ready for Crystal-Clear Driving?
With these professional-grade techniques, your newly replaced windshield will shine with unmatched clarity—minimizing glare, maximizing safety, and preserving your view. Keeping up with regular maintenance ensures that hard-won sparkle endures. Next time you hit the road, ask yourself: how clear could your drive be with a truly flawless windshield?